D&D ON ROLL20
Macros for D&D on Roll20
JUN 24 2025
Whether running Lost Mines of Phandelver or Curse of Strahd, Macros can transform your Roll20 experience from great to exceptional. While the standard Roll20 experience offers digital tools built to simplify character management and gameplay, macros present a fantastic opportunity to push those capabilities to their fullest.
The core principle behind macros is automation. With macros, you can take frequently used commands and automate your gameplay sessions to operate efficiently so that everything from rolling dice to animated FX can become as easy as second nature. While it may seem intimidating from afar, mastering the basics of macros is more intuitive than it seems, and understanding the principles will open the door to limitless possibilities. Today, we'll cover a few quick and easy macros you can drop into almost any D&D module for tons of plug-and-play fun, but remember that the possibilities are nearly endless. If you can think it up, chances are macros can automate it.
Token Settings
Before jumping into chat command macros, now is a good time to ensure you're familiar with the many built-in token settings that can streamline your gameplay right out of the box. Many of the token settings built into the interactable token menu are macros with clickable buttons (thankfully, we'll cover how to make your own macro buttons a little later on), so getting familiar with them is always smart.
Dynamic Lighting and Vision.
In the Dynamic Lighting tab of your token menu, you'll see several options that allow you to customize your token's ability to see in high or low light. Dynamic Lighting is an exciting topic to explore on its own, but in short, tokens can be assigned "vision" so that players see the world from their token's perspective, restricting vision based on obstacles and light sources. You can quickly toggle on and off your selected tokens' Dynamic Lighting perspective with Ctrl + L.
Represents Character
Found under a tokens "Details" tab, the Represent Character drop-down menu is very important to be aware of. This function allows you to assign a character to a token, telling the system that the attributes from the corresponding character sheet should be attributed to the selected token. You'll want to ensure you have your tokens assigned to the right characters for various reasons, especially when using macros meant to automate rolls, display stats, or speak on behalf of specific characters.
Token Bars
Token bars display key character attributes like Hit Points (HP). Rather than manually entering arbitrary values, token bars synchronize dynamically with a character sheet's attributes, keeping them updated in real time. It's essential to ensure you have each token linked to its represented characters for this step to work.
Token Tooltips
Tooltips are a creative and dynamic feature that displays custom text when players hover over specific tokens determined by the GM. Token Tooltips can help add descriptive flavor when players interact with set pieces or preset lines of dialogue for an NPC to display when players hover over their token. A fun and easy way to create immersion on the fly.
Token Auras
Auras are a great way to speed up combat with their capability to represent various effects. Anything from threat ranges, healing zones, or light radii can be customized by color, shape, radius, feet, and visibility permissions for players.
Now that we've gotten the basics out of the way, let's dive into some easy-to-use macros for you to start with.
Macros
You're almost ready to start crafting your own macros, but you should familiarize yourself with the Roll20 forums before you do. Answers to many frequently asked questions concerning macros can almost always be found there, so if you ever find yourself confused or overwhelmed, don't hesitate to navigate to the forums and ask a question.
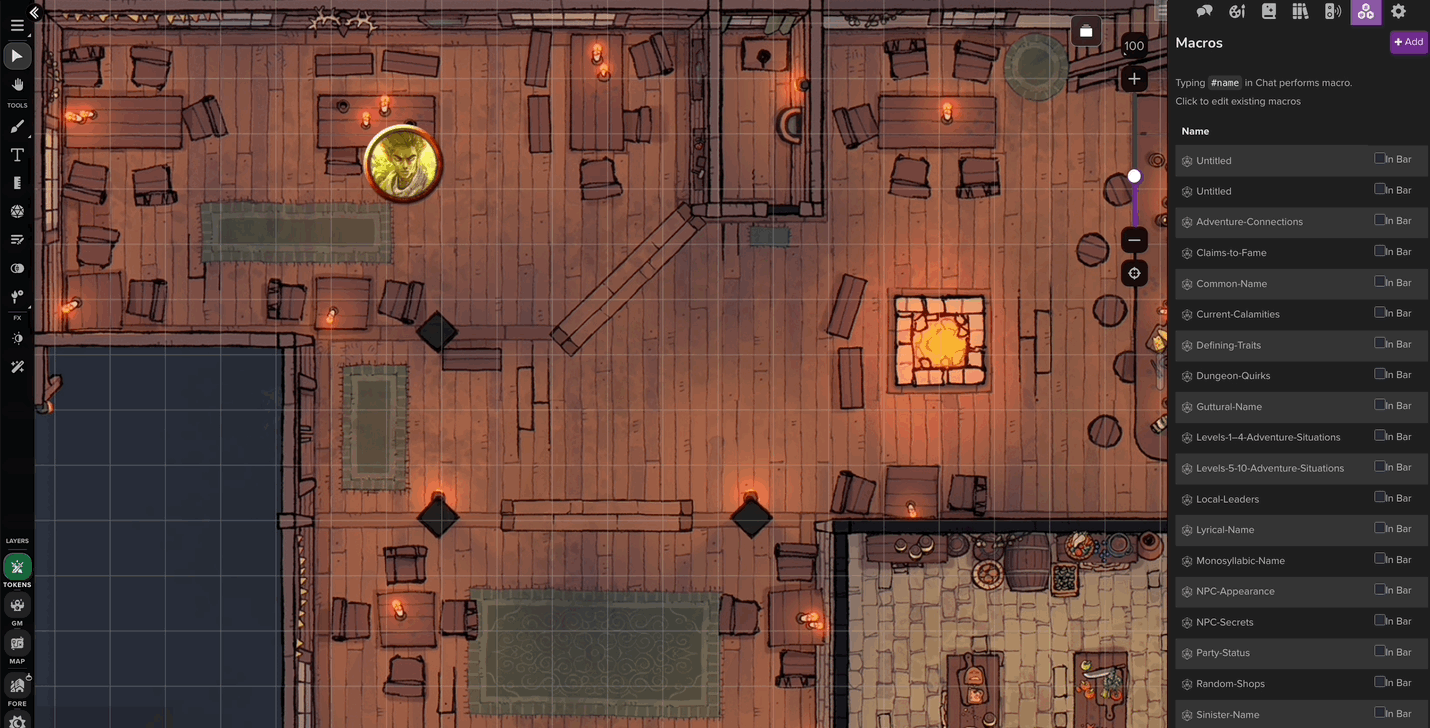
The second thing you should familiarize yourself with is the "collections" tab on the right side of your screen once you've launched a game.
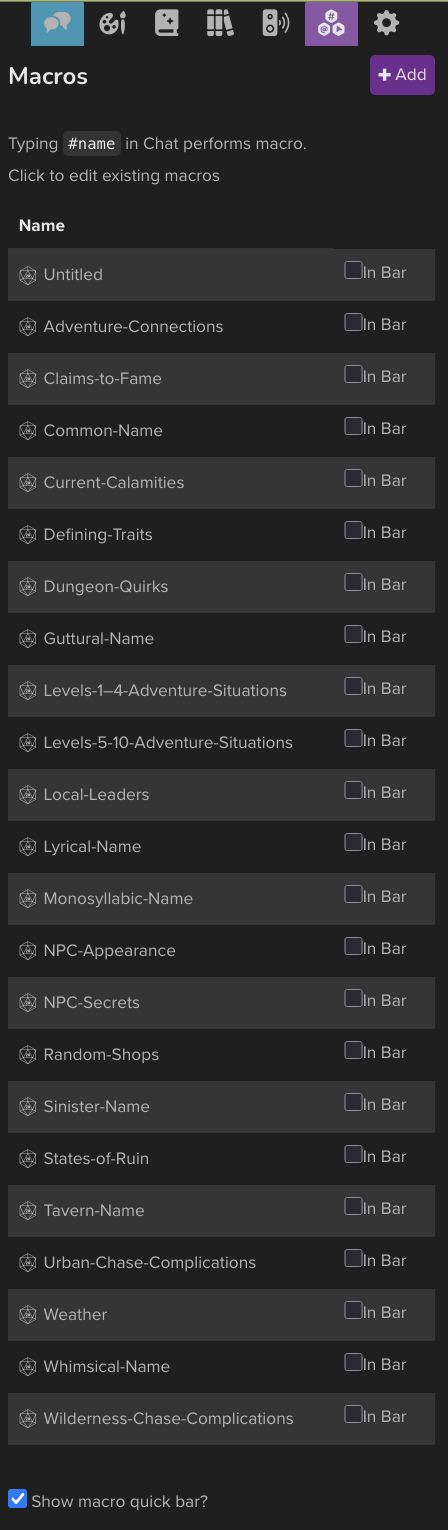
As demonstrated above, you might see your collections tab with some pre-built macros listed. These are suggested macros that can help with specific encounters and modules, and while they're certainly handy, we will focus on making our own macros today.
Start by hitting the "Add" button to make a macro from scratch.

The first step is complete! Now, let's get into some macro examples for you to try out yourself.
Emote Macro
Once you've clicked "Add," a window with an empty text box should appear. This is where you program your macros. Let's start with a macro to message the players on the GM's behalf.
- In the "name" field, enter Emote. This is how you name your macros for quick reference later on.
- In the action field, enter /em "Hello world!". This macro tells the system that anything following the command "/em" and written in quotes should be output in the chat.
- Hit Save Changes
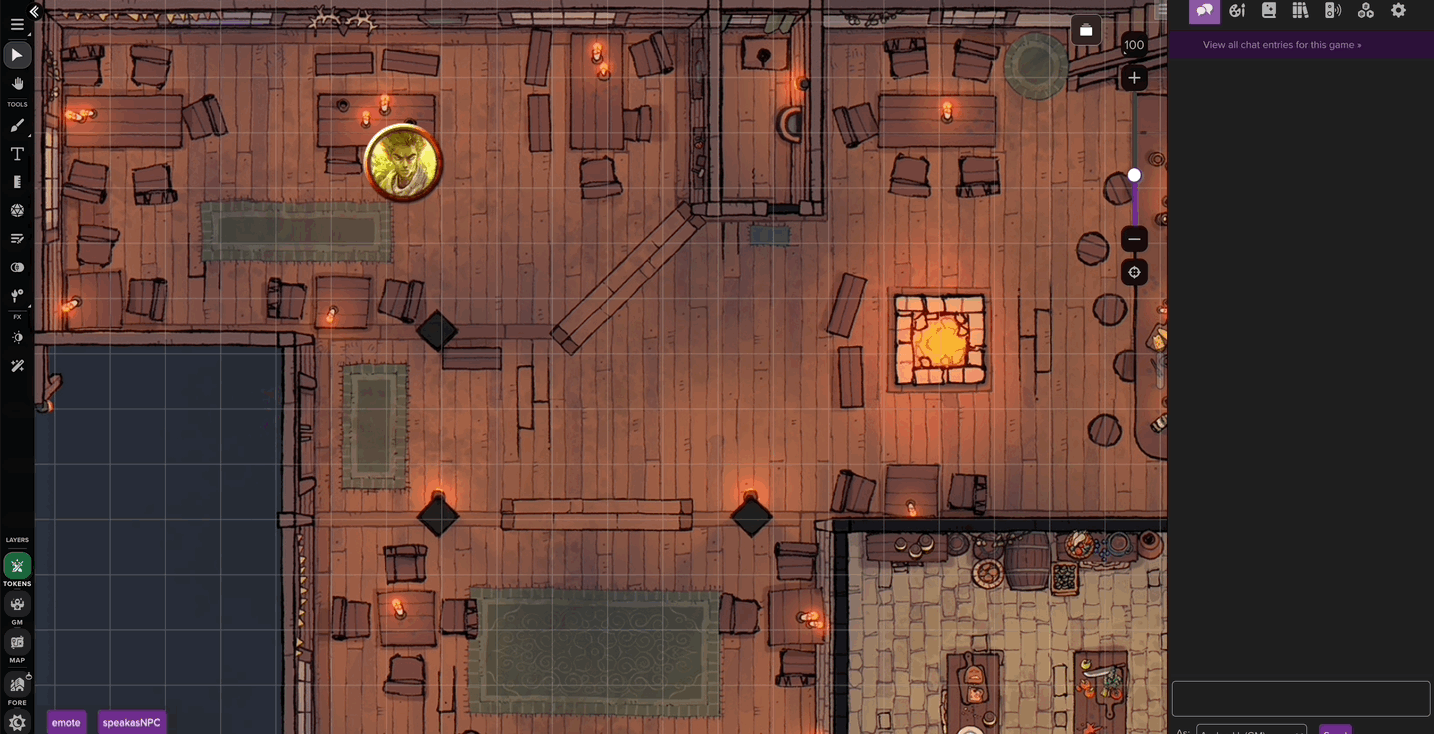
- You'll notice the macro added to your collections tab under the name "Emote". Click In Bar and you'll see a little button on the bottom of your screen with the same name.
- Now you've programmed your macro into a one-click button you can use on the fly. Hit the emote button on the bottom of your screen, and your chat box should be updated with a message similar to this:
Speak as NPC Macro
Here's another handy macro to quickly deliver information to your players. With the Speak as NPC macro, you can select a token and have it output a message within seconds. Let's set it up in a few easy steps.
Once you've added a new macro named "Speak as NPC," follow these simple steps, and your macro is live.
- In the action field, enter /as "@{target|token_name}" ?{NPC Says|Hail travelers!}.
Before you hit save, let's quickly break down what this means so you can tweak and create your own macros in the future. First, "/as" tells the system we're speaking on behalf of another character and not as the GM. Then "@{target|token_name}", tells the system to pull the name of the selected token. Lastly, the "?" command tells Roll20 to summon an input field for the user to enter whatever text they'd like output, while the "|" command denotes that the following should be said by default. In this case, "Hail travelers" is a placeholder for what we might input later. Simply put, this macro essentially says, "As the selected NPC, summon an input field for the GM to enter a line of dialogue.
- Like we did before, hit Save Changes and then the In Bar box next to the "Speak as NPC" macro in your collections tab.
- Now, when you select the "Speak as NPC" button at the bottom of your screen, you should be prompted to select a token.
- Finally, an input field should appear. Type in your chosen words and hit enter.
- Voila!
Party Status
Let's kick things up a notch and try a slightly more complicated macro. Don't get discouraged by the long string of commands. The Party Status macro is easy to set up and will come in handy for sessions to come.
Like before, create a new macro with the add button and name it Party Status.
- In the action field, enter &{template:default} } } } . Important: "Character Name" is a place holder. Make sure to enter the names of your player characters. If you have more than 3 players, just add a new line. ex: }. This tells the system to look for a character named "Maverick" and pull their stats.
We're keeping things simple with this guide, so rather than breaking down each individual function of this macro, let's take a look at it's parts. &{template:default} tells the system we're making a table using the default table template, and we're naming it "Party Status Check". Then, } will output the results of the character's current ac, hp, and hp max.
- Save your changes and add the macro to your bar like we did before.
Click the "Party Status" button and boom! The status of your party members' ac and hp should be displayed in the chat.

Creating Your Own Macros
There's plenty more to learn about macros and more capabilities left to uncover. Fortunately, a wealth of resources is available for you to unlock more from your macros. As mentioned before, you can always check in with the forums for more, including tips, tricks, and tutorials, but if you're looking to cover the basics, there are plenty of ways to learn more.
Learning More About Macros
Here are a couple of great resources to get you started:
- Roll20 Masterclass: A masterclass series covering a number of important topics. Check out Clay's video on macros for an in-depth tutorial on building your own.
- Roll20 Help Center: An extensive master doc covering the basic principles of macros, as well as some of the more advanced uses. Covering topics such as nesting your macros, multiple lines of command, and more.
- Roll20 Wiki: Featuring tons of system-specific information/tips for your favorite games, the wiki is a handy tool to have in your arsenal. Find macro examples and a complete guide to macros here.
- Roll20 Wiki Complete Guide to Macros: Possibly the definitive macro guide to date, this resource is great for referencing all the available commands and functions you'll need to know when building your macros.
Ready to try macros out for yourself? Start by practicing with the macros featured here to get familiar with the mechanics, and when you're ready, start crafting your own or tweaking others. Before you know it, automating your games will be practically second nature, thanks to the plug-and-play benefits of macro commands. The sky's the limit! If you can dream it, you can macro it. Have fun!